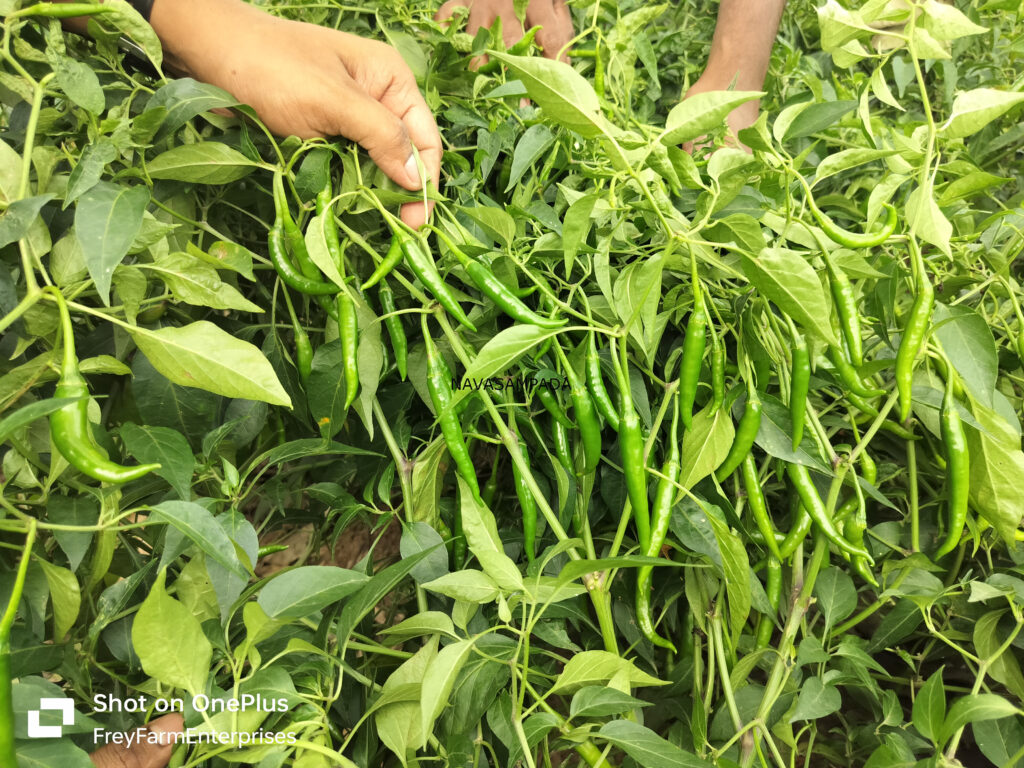
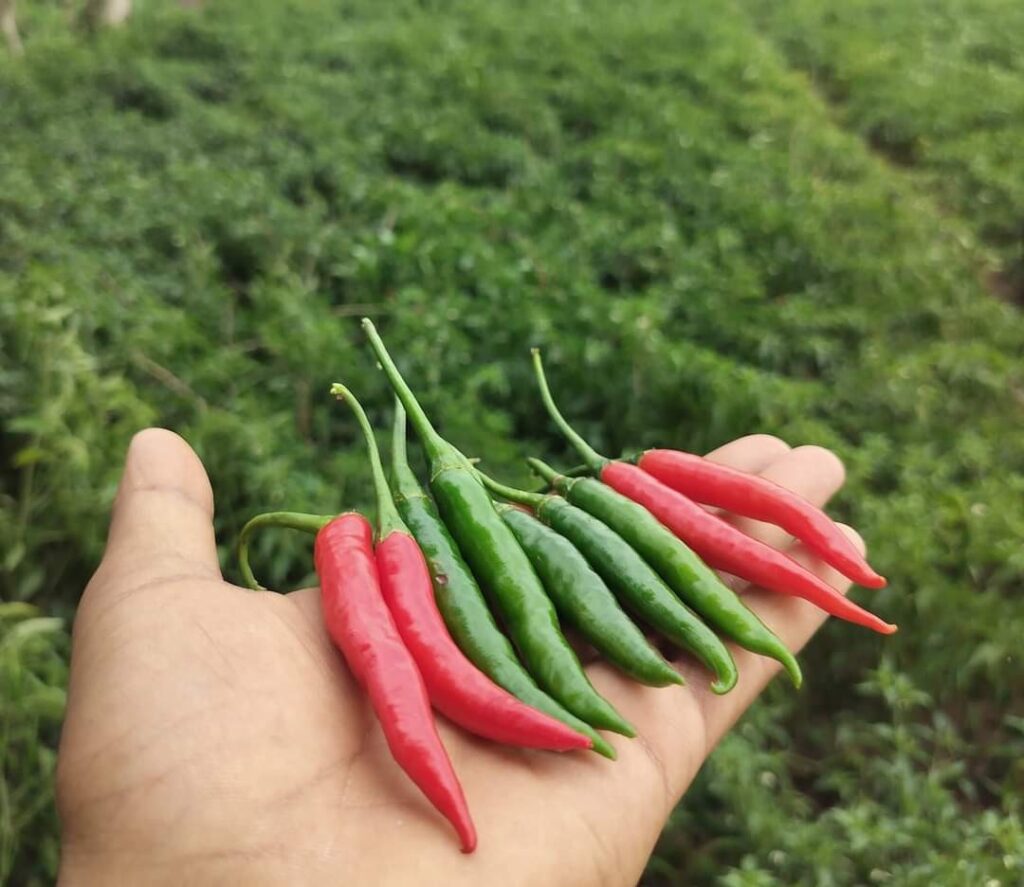
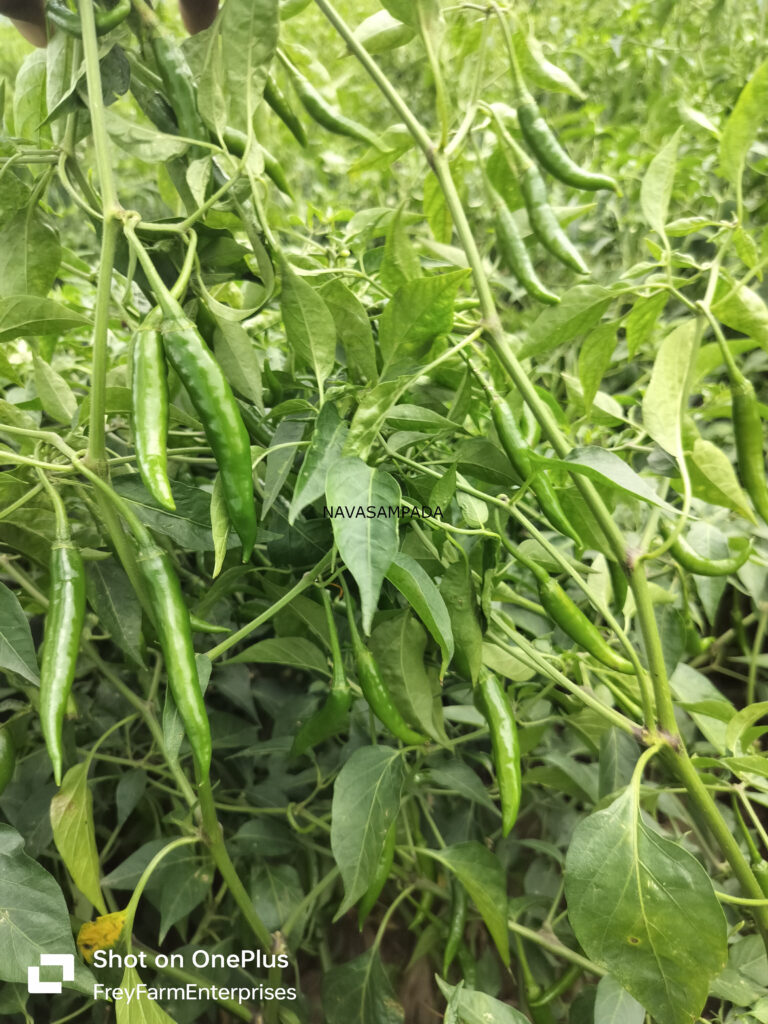
Chili (*Capsicum annuum*), a member of the Solanaceae family, is a popular and profitable crop grown worldwide. Known for its spicy heat and versatility in cooking, chili peppers are used fresh, dried, or processed into products like powders, sauces, and oils. Successful chili farming requires proper planning, careful management, and attention to detail from soil preparation to harvest. Here’s a comprehensive guide to help you get started and grow a thriving chili farm.
Choosing the Right Chili Variety
The first step in establishing a chili farm is selecting the right variety. Your choice should be based on your climate, soil conditions, and market demand. Common types include:
Hot Varieties: *Bhut Jolokia*, *Habanero*, *Jalapeño*, and *Cayenne*.
Sweet Varieties: *Bell Pepper* (used as vegetables or in salads).
Medium Heat Varieties: *Paprika* and *Cayenne*.
Hybrid Varieties: These offer improved disease resistance, higher yield, and uniformity.
Choose a variety that suits your local growing conditions and consumer demand, and always buy seeds from a reputable supplier.


Understanding Climate and Soil Conditions
Chili plants thrive in warm, sunny climates. They require:
Temperature: chilis grow best in temperatures between 2132°C (7090°F), with a preference for 2530°C (7786°F) during the day.
Soil Type: They prefer well drained, fertile loamy soils. Sandy loam with good organic matter is ideal.
Soil pH: The pH should range between 6.07.0, slightly acidic to neutral.
Sunlight: Ensure the plants get 68 hours of direct sunlight daily for optimal growth.
Preparing the Soil
Proper soil preparation is essential for strong chili plants and high yields.
Soil Testing: Test the soil to check nutrient levels and pH. Based on results, amend the soil with organic matter or specific nutrients.
Soil Amendments: Add well rotted compost or organic manure to enrich the soil and improve water retention.
Tillage: Till the soil to a depth of 812 inches (2030 cm) to ensure good aeration and root growth. Remove any rocks, weeds, or debris.
Fertilization: Apply a balanced fertilizer (such as NPK 101010) during preparation, and adjust according to soil test recommendations.
Sowing and Seedling Preparation
chili farming often begins with seeds, either started indoors or sown directly in the field.
Starting Seeds Indoors: Begin 68 weeks before the last frost date, especially in cooler climates.
- Use seed trays or small pots filled with sterile, welldraining seedstarting mix.
- Sow seeds 1/4 inch (0.6 cm) deep and keep the soil moist.
- Maintain 2129°C (7085°F) for germination, which takes 714 days.
Direct Sowing Outdoors: In warm climates, sow seeds directly in the soil once temperatures are consistently above 21°C (70°F).


Transplanting Seedlings
When seedlings reach 34 inches (710 cm) tall and have 23 true leaves, they are ready for transplanting.
Field Preparation: Prepare raised beds or furrows to improve drainage.
Spacing: Space the plants 1824 inches (4560 cm) apart in rows, with 36 inches (90 cm) between rows. This allows for good air circulation and healthy growth.
Transplanting Depth: Plant seedlings at the same depth as they were in their nursery pots to avoid root disturbance.
Watering and Irrigation
Consistent moisture is key to healthy chili plants, but waterlogging must be avoided.
Watering: Provide about 1 inch (2.5 cm) of water per week, especially during dry spells. Ensure the soil drains well.
Irrigation Systems: Drip irrigation is ideal for providing targeted water directly to the roots, preventing fungal diseases.
Avoid Wetting Foliage: Water the base of the plants to prevent moisture on the leaves, which can promote fungal infections like powdery mildew.
Fertilization and Nutrient Management
chili plants are heavy feeders, so managing nutrients is essential throughout the growing season.
Nitrogen: Apply nitrogen rich fertilizers early in the season for healthy leaf and stem growth.
Phosphorus: Phosphorus promotes root development and flowering, so apply it during transplanting.
Potassium: Potassium aids fruit production. Add a potassium based fertilizer once the plants start flowering.
Micronutrients: Foliar sprays of micronutrients like zinc or boron can be used to improve fruit set and plant health.
Pest and Disease Management
chili plants can be affected by various pests and diseases, but with proper management, you can minimize damage.
Common Pests:
- Aphids: Control with neem oil or insecticidal soap.
- Whiteflies: Use yellow sticky traps and insecticidal soaps.
- Thrips: Spray with neem oil or insecticidal soap.
- Fruit Borers: Use pheromone traps or insecticides like spinosad.
Common Diseases:
- Powdery Mildew: Prevent by ensuring good airflow and applying sulfur or copper based fungicides.
- Bacterial Wilt: Remove affected plants and rotate crops to reduce soilborne bacteria.
- Blight: Both early and late blight can affect plants. Use fungicides and maintain good field hygiene.
Preventive Measures:
Crop Rotation: Avoid growing chilis in the same soil season after season.
Hygiene: Regularly remove dead or diseased plants and sanitize tools after use.
Pruning and Plant Support
Pruning and supporting your chili plants can help boost yield and prevent damage.
Pruning: Remove lower branches to improve airflow and reduce disease risk. Trim excess side shoots to promote stronger main stems.
Support: As plants grow, use stakes or cages to prevent them from falling over, especially during fruiting.
Harvesting chilis
chilis are typically ready for harvest 6090 days after transplanting, depending on the variety. Harvesting at the right time ensures optimal flavor and quality.
Signs of Maturity: chilis are ready when they reach full size and their characteristic color (green, red, yellow, or purple, depending on the variety).
Harvesting: Use sharp scissors or pruning shears to cut the fruit, leaving a small part of the stem attached to prevent damage.
Frequency: Regular harvesting encourages continuous fruiting. Harvest frequently to maintain healthy plants.
Post-Harvest Handling and Storage
Proper postharvest handling is key to preserving the quality of your chilis.
Cleaning: Gently wipe off any dirt. Avoid washing unless necessary to prevent spoilage from excess moisture.
Storage: Store fresh chilis in cool, dry conditions for short-term use. For long-term storage, dry the chilis by sun-drying or using a dehydrator, then store in airtight containers.
Processing: Consider processing chilis into powders, sauces, or oils for added value.
Marketing and Selling
Once your chilis are harvested and ready, it’s time to market them.
Farmers’ Markets: Sell directly to consumers at local markets.
Supermarkets: Package and sell in bulk to grocery stores or wholesalers.
Value-Added Products: Process your chilis into powder, sauces, or pickles to increase profitability.
Export: Depending on your region and the variety, you could also look into exporting your chilis.